Forward projection only
We can also use the following convenience options in Dr.TVAM to optimize patterns under certain conditions but then project them under different conditions.
Normal optimization
As always we can optimize patterns with drtvam no_absorption/config.json.
Config file no_absorption/config.json (click to expand)
{
    "vial": {
        "type": "cylindrical",
        "r_int": 5,
        "r_ext": 5.5,
        "ior": 1.58,
        "medium": {
            "ior": 1.4849,
            "phase": {
                "type": "rayleigh"
            },
            "extinction": 0.01,
            "albedo": 0.0
        }
    },
    "projector": {
        "type": "collimated",
        "n_patterns": 100,
        "resx": 200,
        "resy": 200,
        "pixel_size": 0.04,
        "motion": "circular",
        "distance": 20
    },
    "sensor": {
        "type": "dda",
        "scalex": 7.2,
        "scaley": 7.2,
        "scalez": 7.2,
        "film": {
            "type": "vfilm",
            "resx": 128,
            "resy": 128,
            "resz": 128
        }
    },
    "target": {
        "filename": "../benchy.ply",
        "size": 7.0
    },
    "loss": {
        "type": "threshold",
        "tl": 0.80,
        "tu": 0.94,
        "weight_sparsity": 0.0,
        "M": 4
    },
    "transmission_only": true,
    "n_steps": 30,
    "spp": 4,
    "spp_ref": 4,
    "spp_grad": 4
}
The resulting final.exr (after thresholding) looks like this:
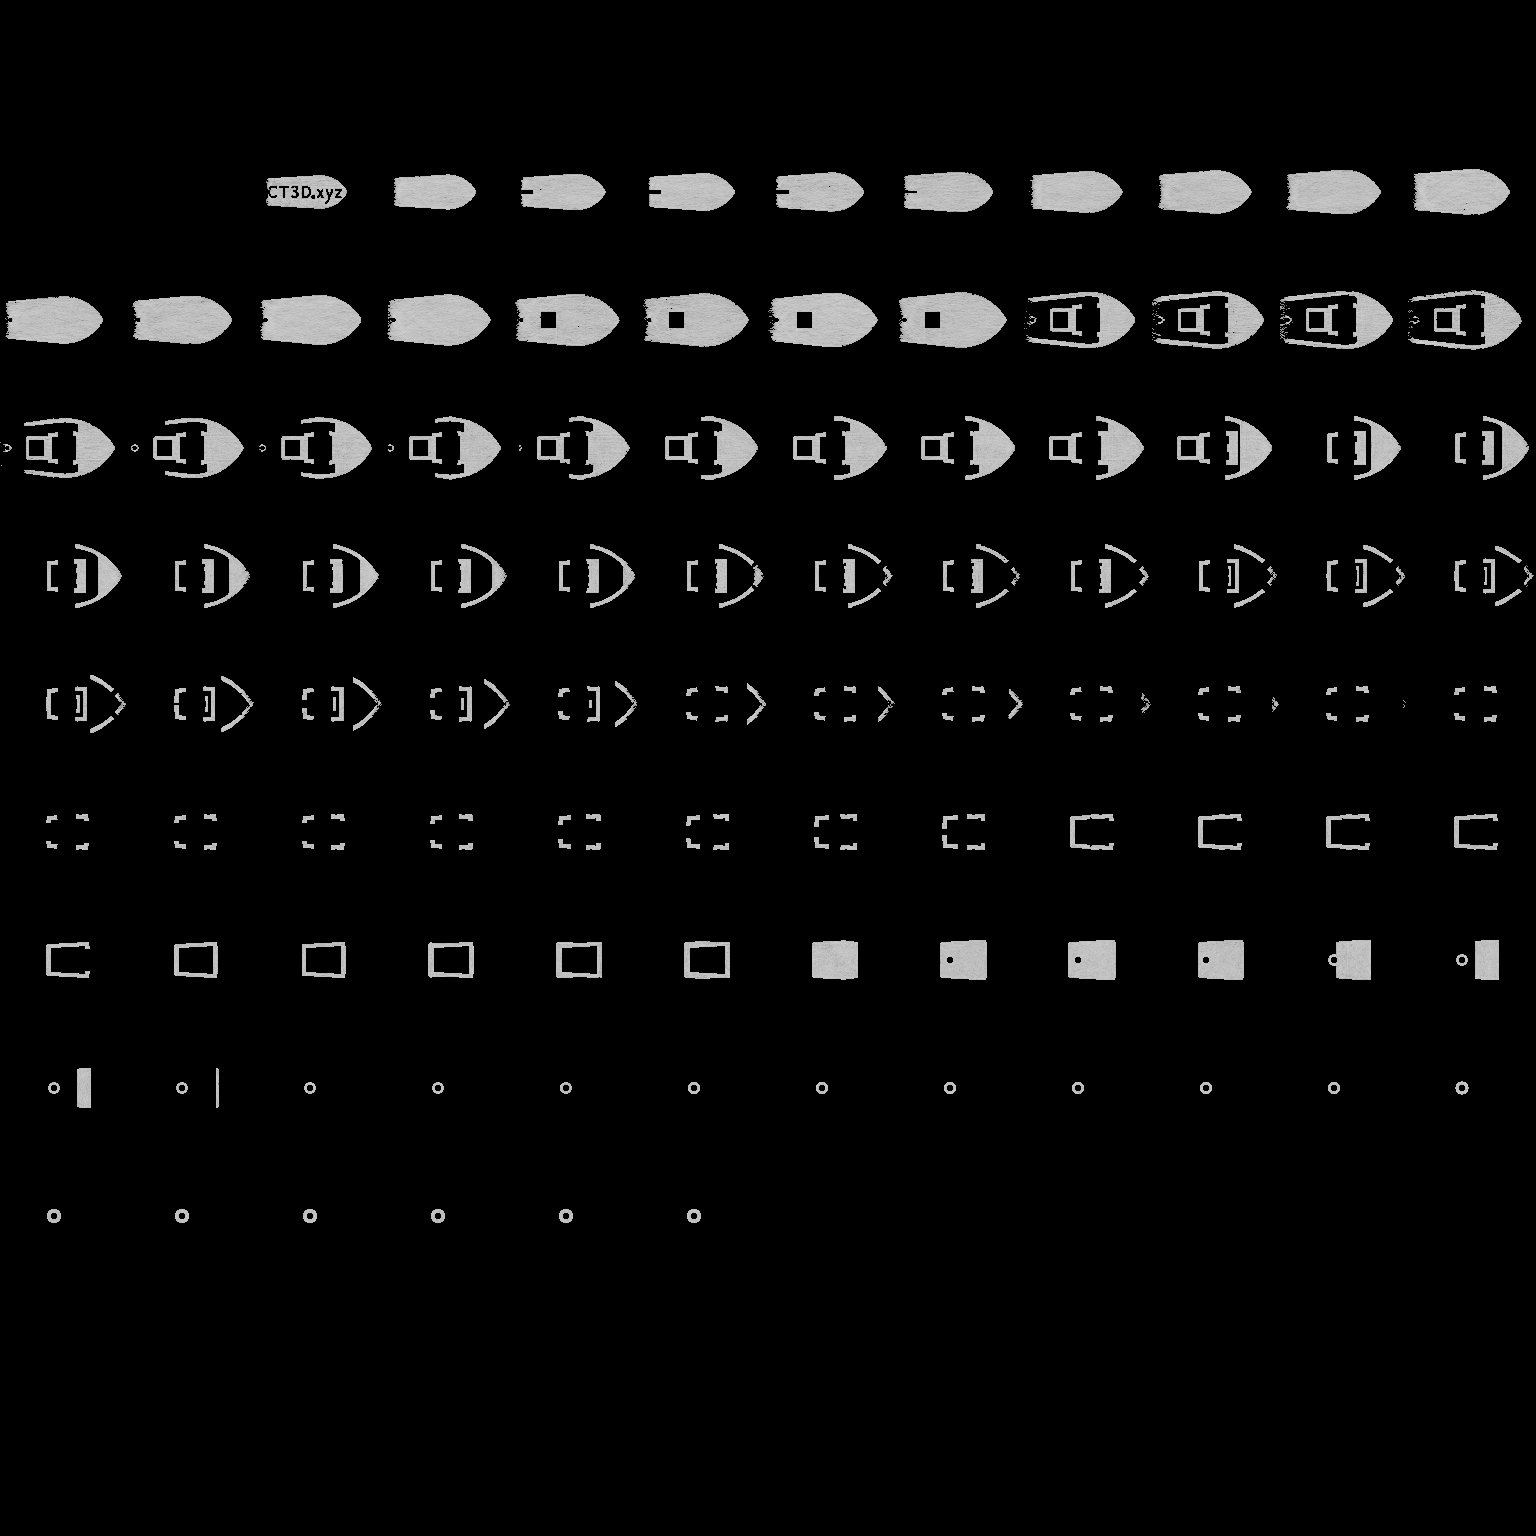
We can guess it looks like good intensity to produce a boat
Forward projection
Using the existing patterns, we can now simulate a real print (forward projection only) under new conditions. In this case, we want to simulate the same patterns but under a higher absorption condition. Call
drtvam --forward_mode --patterns no_absorption/patterns.npz absorption/config.json
Config file absorption/config.json (click to expand)
{
    "vial": {
        "type": "cylindrical",
        "r_int": 5,
        "r_ext": 5.5,
        "ior": 1.58,
        "medium": {
            "ior": 1.4849,
            "phase": {
                "type": "rayleigh"
            },
            "extinction": 0.4,
            "albedo": 0.0
        }
    },
    "projector": {
        "type": "collimated",
        "n_patterns": 100,
        "resx": 200,
        "resy": 200,
        "pixel_size": 0.04,
        "motion": "circular",
        "distance": 20
    },
    "sensor": {
        "type": "dda",
        "scalex": 7.2,
        "scaley": 7.2,
        "scalez": 7.2,
        "film": {
            "type": "vfilm",
            "resx": 128,
            "resy": 128,
            "resz": 128
        }
    },
    "target": {
        "filename": "../benchy.ply",
        "size": 7.0
    },
    "loss": {
        "type": "threshold",
        "tl": 0.80,
        "tu": 0.94,
        "weight_sparsity": 0.0,
        "M": 4
    },
    "transmission_only": true,
    "n_steps": 30,
    "spp": 4,
    "spp_ref": 4,
    "spp_grad": 4
}
This command will use the patterns from no_absorption/patterns.npz but project them under the conditions defined in absorption/config.json.
The resulting files (such as final.exr) will be saved in the absorption/ directory, but they will be based on the patterns optimized for the lower absorption conditions.
The resulting final.exr (after thresholding) looks like this:
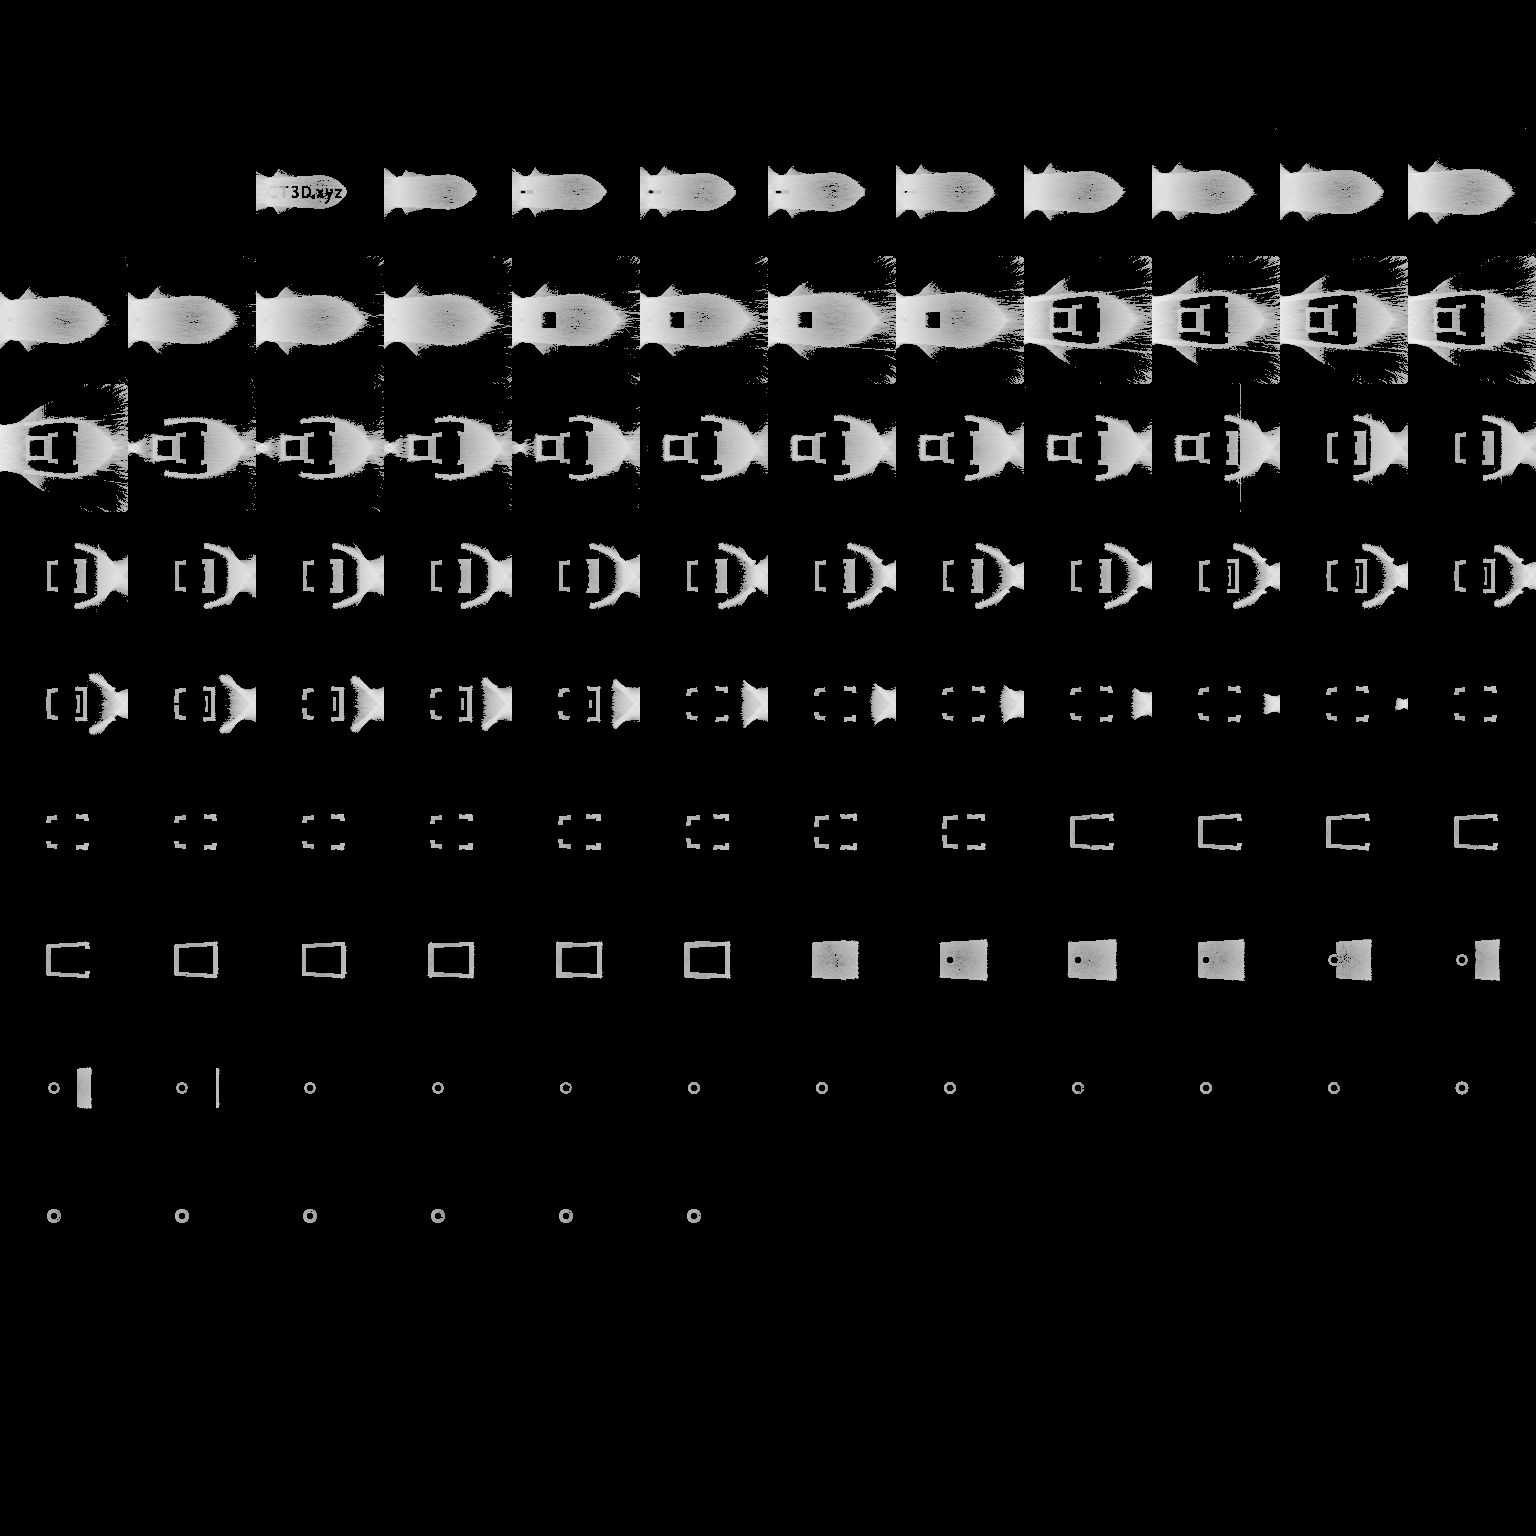
We can see, the boat is not well preserved as the resin is more absorptive and the patterns are not optimized for this condition. This example also demonstrates that the unattenuated simulation of rays is not suited for real conditions with absorptive resins.
Hints
The final projection used for final.exr will not use spp, max_depth and rr_depth but instead uses spp_ref, max_depth_ref and rr_depth_ref.
During the optimization itself, we always use spp, max_depth and rr_depth.